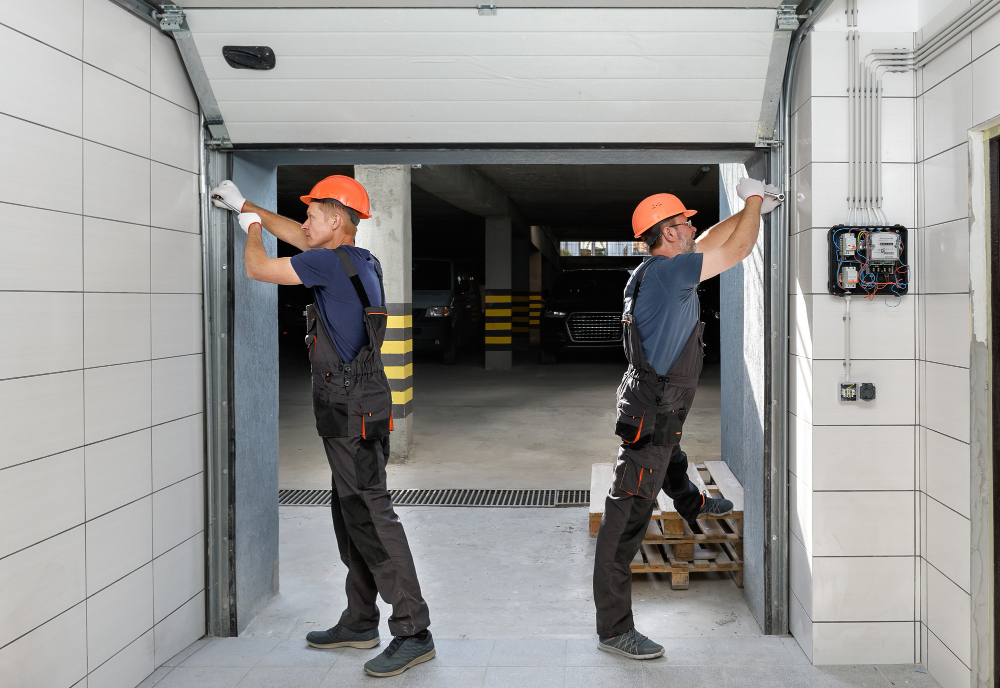
Installing a garage door opener may seem like a daunting task for homeowners. From assembling the parts to handling electrical wiring, it’s easy to get overwhelmed. But don’t worry! We’ll guide you through the entire process, helping you avoid mistakes and providing tips for smooth operation. Plus, we’ll show you how to recognize when you need help with tasks like Garage Door Cable Repair or Garage Door Track Replacement.
One of the biggest mistakes people make is rushing to install the opener without checking the condition of the garage door itself. If your garage door isn’t balanced or well-maintained, the opener will struggle to work properly, leading to potential damage and higher repair costs down the road.
First, test your door by manually lifting it. If it doesn’t stay halfway open, you may need a Garage Door Cable Repair before proceeding. Ignoring this can put extra strain on your new opener.
When you open the garage door opener kit, you’ll see a lot of parts, and it’s easy to feel overwhelmed. Missteps during assembly can cause the unit to malfunction later on, which is why it's crucial to carefully follow the manufacturer’s instructions.
Take your time assembling the unit and double-check each part. If at any point you feel unsure, refer to the manual for clarification. This will save you a lot of frustration in the long run.
Improperly mounting the garage door opener is another common issue that DIYers face. If it’s not securely attached, it can wobble or fall, causing damage to the opener or garage door.
Follow these steps:
Wiring the garage door opener incorrectly can lead to electrical failures or even create a fire hazard. This is one of the trickiest parts of the process, but with patience and attention, it can be done safely.
Here’s how to do it:
Once the installation is complete, testing the garage door opener is essential. Many homeowners assume everything is in working order without giving it a proper test, only to discover issues later.
Here's what to check:
Also, keep an eye out for any signs of wear in the cables. If the door jerks or moves unevenly, Garage Door Cable Repair might be necessary.
Once your garage door opener is installed, you need to make some final adjustments. This includes adjusting the speed, force, and travel limits so that your opener works efficiently and safely. Neglecting this step could lead to faster wear and tear or even accidents if the safety reverse system isn’t set up properly.
Ensure that your opener settings are tailored to your garage door's weight and movement. If your garage door isn’t closing evenly or is making strange noises, check the tracks and consider Garage Door Track Replacement if needed.
Even with careful planning, mistakes can happen. Misaligned tracks or skipping instructions can result in a door that doesn’t open smoothly. Here are some common mistakes to avoid:
If your door is still acting up, it could indicate underlying issues, like a cable that needs attention or a track misalignment.
Sometimes, even with the best instructions, an installation may not go as planned. If you find yourself facing electrical difficulties or if your door simply won’t align correctly, don’t hesitate to call a professional. Complex tasks like Garage Door Cable Repair or Garage Door Track Replacement are best left to experts who can ensure your system runs safely and smoothly.
Yes, you can install a garage door opener yourself, but it requires patience, basic mechanical skills, and attention to detail. While DIY installation can save you money, it's important to follow each step carefully to avoid any safety hazards or operational issues. For those with no prior experience, some tasks like Garage Door Cable Repair or proper alignment of tracks can be tricky. If at any point you feel overwhelmed, don’t hesitate to call a professional for assistance.
The process of installing an automatic garage door opener is straightforward when following a step-by-step guide. Here’s a general overview of the process:
While it’s possible to handle this on your own, don’t forget to check the door’s balance first. If you notice uneven movement or hear grinding noises, Garage Door Cable Repair may be necessary before proceeding with the installation.
While a garage door opener can be installed as a DIY project, it’s not necessarily “easy” for everyone. The complexity depends on your experience with mechanical and electrical tasks. Assembling the opener and mounting it might feel simple to some, but wiring and adjusting the safety sensors can be challenging. Plus, the alignment of the tracks is critical. If the tracks are misaligned, Garage Door Track Replacement or professional help may be required.
For beginners, it’s important to take your time, follow the manual, and double-check each step. If you feel like you’re getting in over your head, it might be best to consult an expert.
The easiest garage door opener to install is typically a chain-drive or belt-drive opener. These are straightforward to set up and are commonly used in most residential homes. Belt-drive openers are known for their quieter operation, while chain-drive openers are more affordable and durable. Both come with clear assembly instructions, making them more user-friendly for DIY installations.
If you’re new to installing garage door openers, choose a model that is known for being easy to install and includes detailed step-by-step guidance. Look for features like pre-assembled rails and wireless keypads for an easier installation process.
Installing a garage door opener can be a rewarding DIY project if you follow the right steps. By preparing, assembling, and testing your opener properly, you can enjoy the convenience and security it offers. Just remember, if you run into complications, whether it’s faulty wiring or the need for Garage Door Cable Repair, don’t hesitate to seek professional help. A smooth, safe installation will save you time and headaches in the long run.